By far, the most common and annoying problem associated with black powder revolvers is the issue of “cap jam”.
Often, new shooters will blame the caps, the powder, or even light springs. The truth is that cap jams will probably be responsible for 90% or more of your failures to fire.
Cap jams in black powder revolvers can be stopped by filing the edges off of the notch in the hammer, by filling the hammer notch with an epoxy, by using a rigid main spring, by switching to aftermarket nipples, or any combination thereof.
Let’s shoot into the topic a little more for a brief explanation of how to fix a current cap jam, and the steps you can take to make your revolver as reliable as it can be as you move forward.
This article will cover Colt replica models.
How to Fix a Current Cap Jam
The amount of work you’ll have to do to fix a current cap jam will depend on how long you’ve had a cap jamming your action and a little luck.
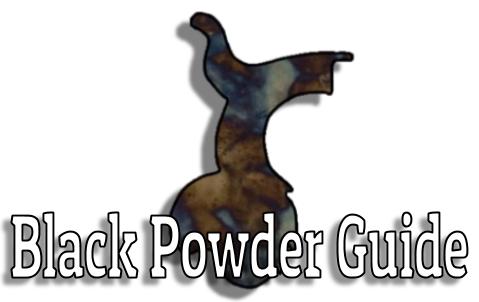
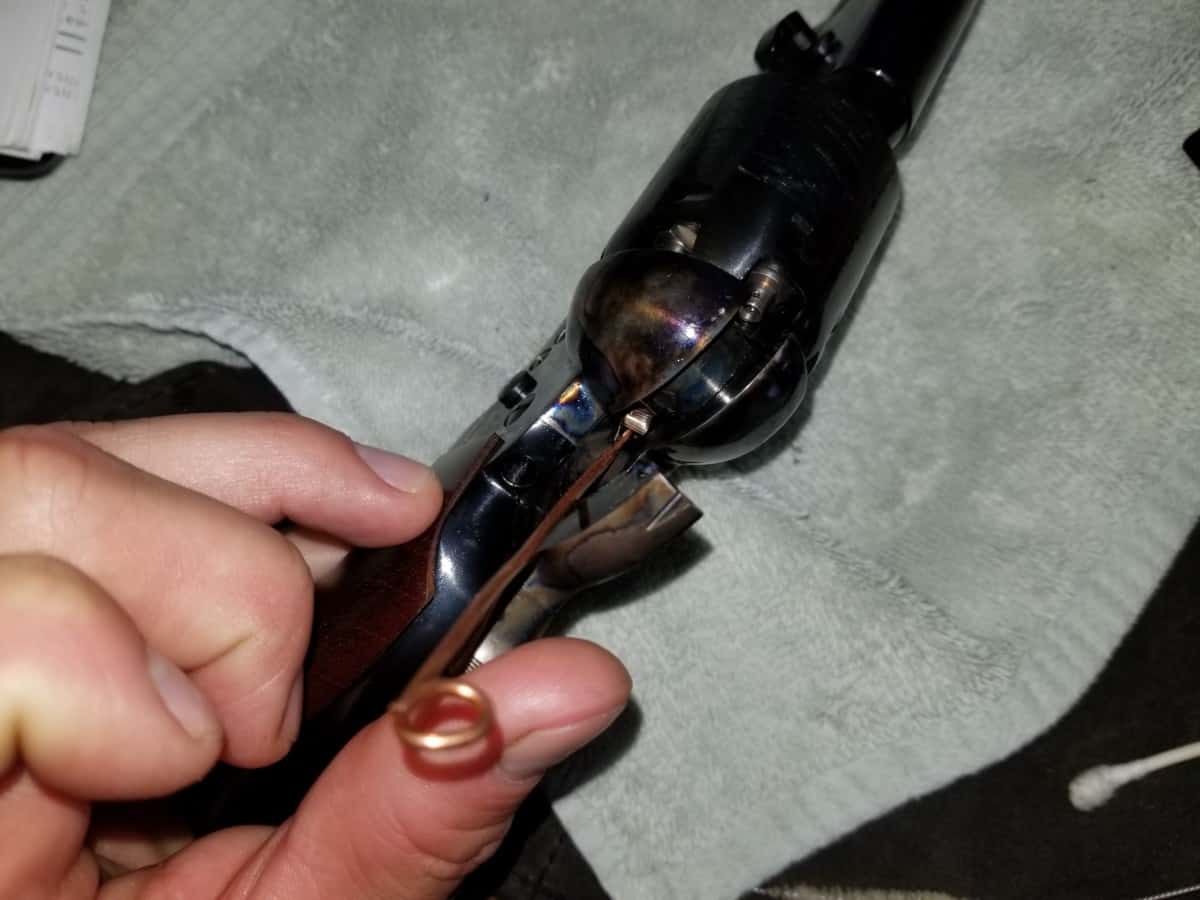
Hopefully, you will be able to simply pull the hammer back and use a flash light to look down between the hammer and the action and see a spent cap. They may be difficult to see if they’ve been there for a while since they will get covered with fouling and carbon buildup.
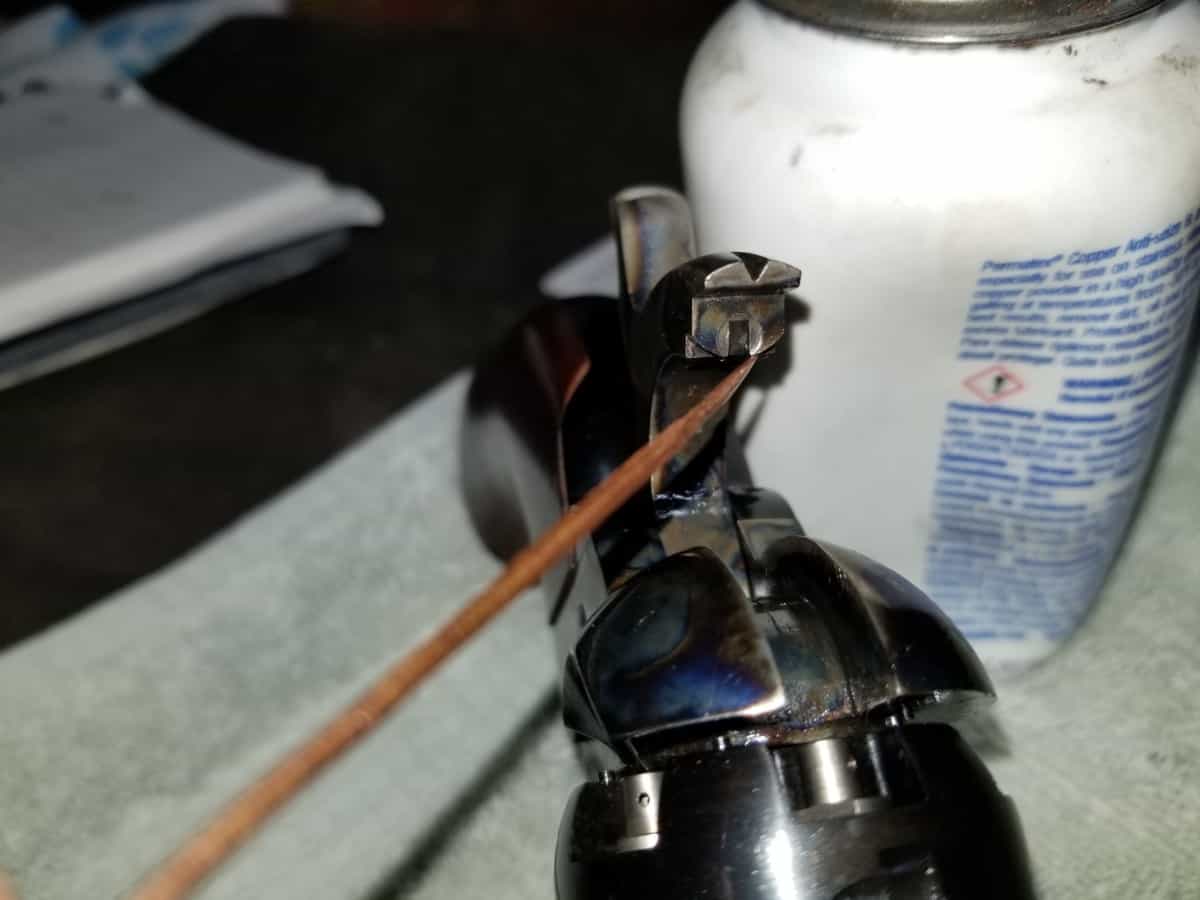
You can use a copper pick, like the one in the photo below to work the cap out and proceed with your day.
If luck was not on your side, the cap may have completely worked its way into the internal components of your revolver and are prohibiting you from working the action.
If this is the case, you’re going to have to completely disassemble your cap and ball revolver to get to the problematic spent cap.
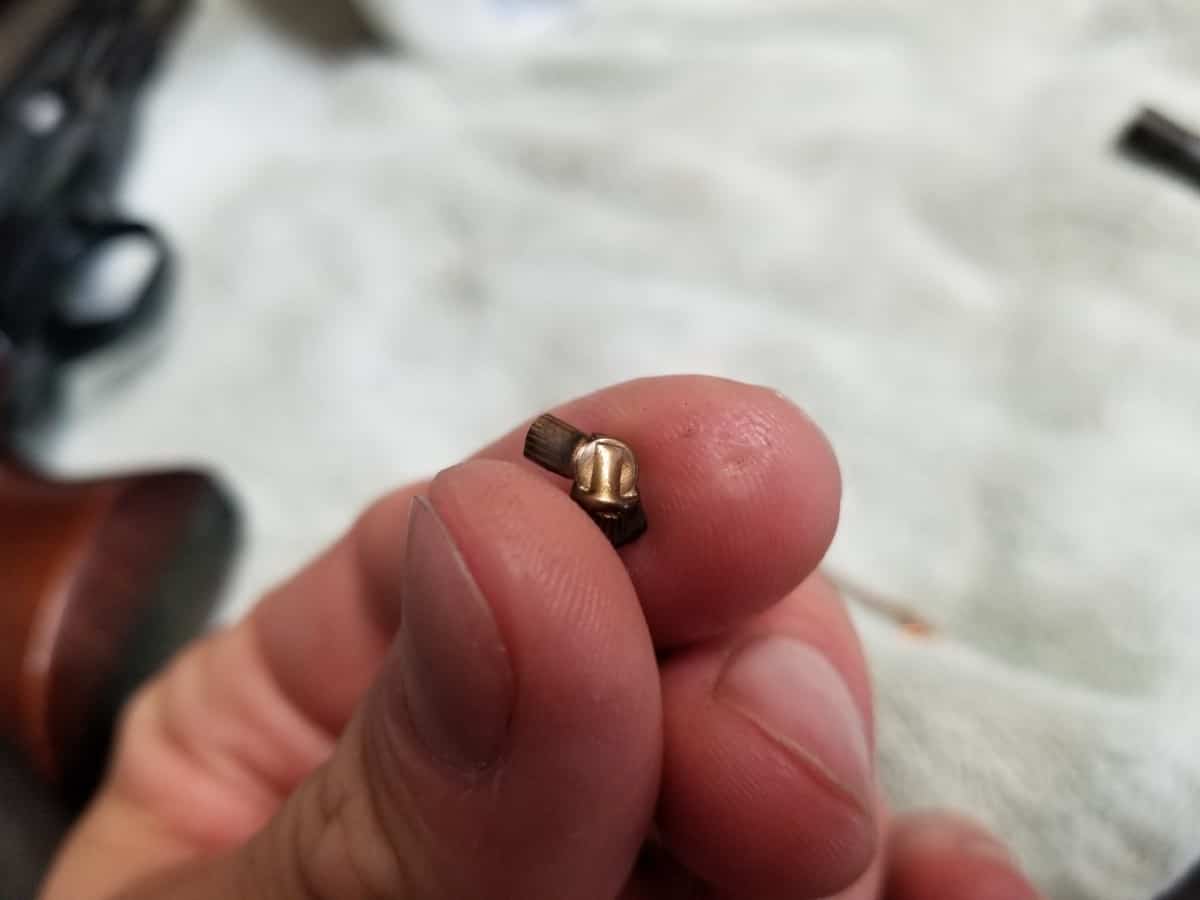
It’s amazing what a little piece of foil can do to dismantle an otherwise well oiled machine.
How Does “Cap Jam” Happen with black powder revolvers?
Causes for Cap Jam in Black Powder Revolvers
| Problem | Solution | Notes |
|---|---|---|
| Hammer lifts cap from nipple allowing it to fall in the action | File the hammer notch | Use a file to round-off the "teeth" on both sides of the notch in the face of the hammer |
| Hammer lifts cap from nipple | Fill the hammer notch | Use epoxy to fill and then sand down the epoxy to be flush with the hammer steel |
| Blowback when firing flattens caps and allows them to fall in the action as the hammer is pushed back from hot gasses | Use aftermarket nipples (SliXshot recommended) | Controls blowback gasses to properly shapen the spent cap to fall off naturally after the cylinder is rotated |
| Hammer bounces back when firing allowing the cap to fall in the action | Use a more rigid main spring (not common) | Ensure that the single screw holding your main spring is tightened and replace if necessary |
Preventing “Cap Jam” in Black Powder Revolvers
Thankfully, it doesn’t take a professional gunsmith to make your revolver into a vary reliable piece.
These steps are relatively easy and you don’t necessarily have to do all 4 of them. In fact, you might just want to try the easiest and work your way down in the order that they are listed. You might find that doing the first step fixes the issue by itself.
File the Hammer Notch
It doesn’t matter what brand you buy when it comes to cap and ball revolvers. If you take them apart, you’re going to find somewhere on the piece where it wasn’t polished smoothly. Consider it a gem if you find a perfect one.
The notch that is cut into the bottom of the hammer face is definitely one of those areas that is cut sharp and was never smoothed out. To be fair, it probably wasn’t designed to be.
However, that doesn’t change the fact that these “teeth” that are formed at the bottom of hammer face by the cut-out notch are sharp the first point of contact for the cap that is seated on the nipple as the hammer flies forward.
These teeth, with their sharp edges, envelop the cap and it becomes wedged in the notch between them.
The next time you pull the hammer back, the cap doesn’t stay on the nipple to naturally fall off in that chamber’s next position as it rotates and is provided a cut-out on the frame for the cap to drop.
Instead, the hammer lifts the cap off the nipple and drops it between the now pulled-back hammer and the action below.
Every time you fire the weapon from here on out, the force of that hammer flying forward will continue to flatten and mold the shape of that foil cap to better fit the contours of the action itself.
However, even though it is thin and molds to the shape of the internal components of the revolver, it is still thick enough to stop the hammer from making full contact with the caps on the cylinder and complete misfires can result. Basically, the hammer completes 99% of its journey to the new cap and and is immediately slowed down by the spent cap in the last 1%.
Sometimes, the cap jam is not as subtle and it will be very clear that something is binding up the action when you find it difficult to pull the hammer back or it clearly won’t fall all the way.
To prevent cap jam in this instance, round off the edges of the “teeth” at the bottom face of the hammer with a small file and emery cloth so that they are rounded over and will be less likely to cut into the caps and grip onto them.
Of course, it is easiest to disassemble your revolver and remove the hammer for this. Place it in a vice for precision work.
Fill the Hammer Notch
If filing the “teeth” on the hammer doesn’t do the trick, you can always fill in the notch in the hammer with an epoxy.
I’ll give full credit to Mike Beliveau on the Duelist1954 YouTube channel for this idea.
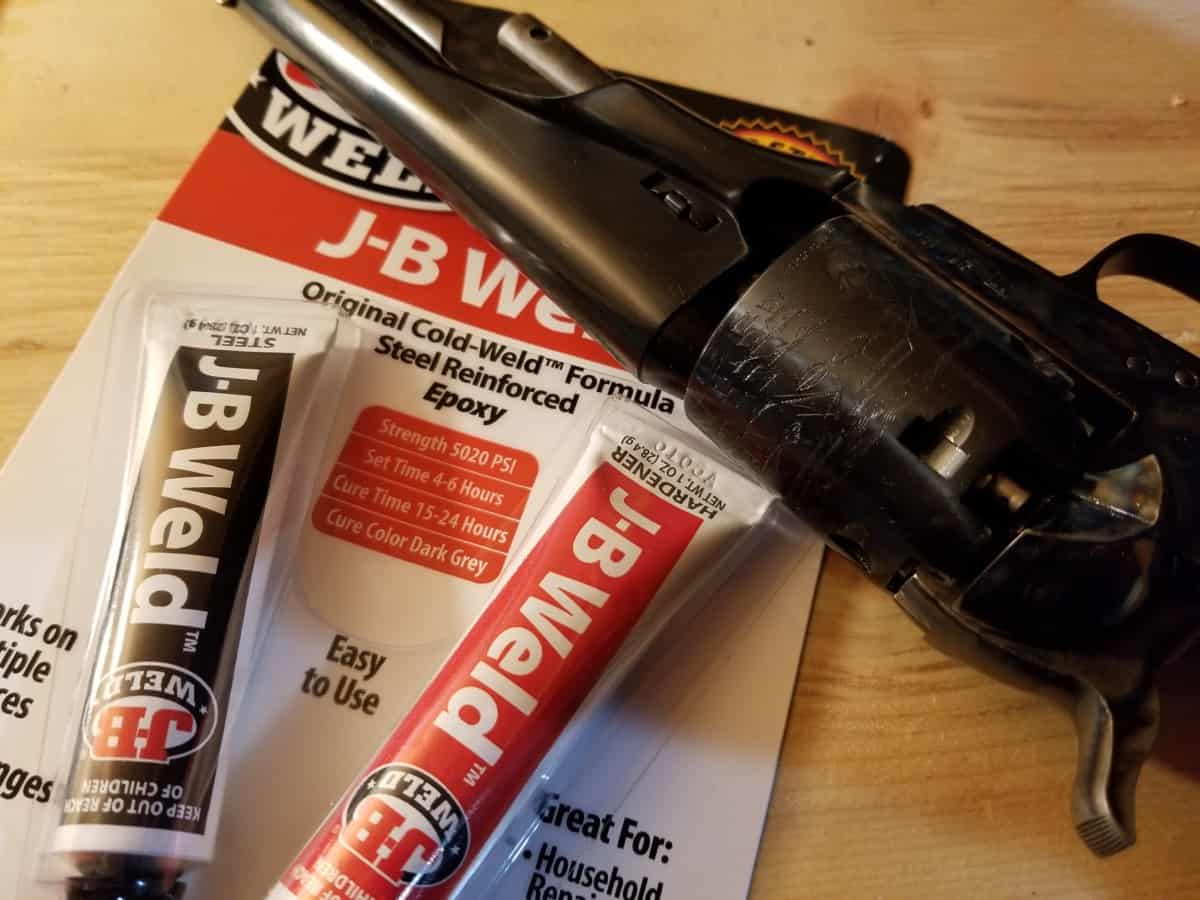
Simply remove the hammer and place it in a vice. Clean the face and notch out with a degreasing agent like denatured alcohol and mix up an epoxy like JB Weld®. Use a 50/50 mix of the hardener and the resin and fill in the notch.
Don’t worry about being exact. Let it harden over 24 hours and then use fine sand paper or an emery cloth to shape the epoxy to just fill in the notch and be flush on all angles with the steel on the hammer.
Now, it will be impossible for the notch on your hammer to grip the cap from the nipple.
Use Aftermarket Nipples
The next thing to try if you are still having problems is to use some aftermarket nipples. I actually recommend doing this anyway since you can get stainless steel which will be far more forgiving with corrosion.
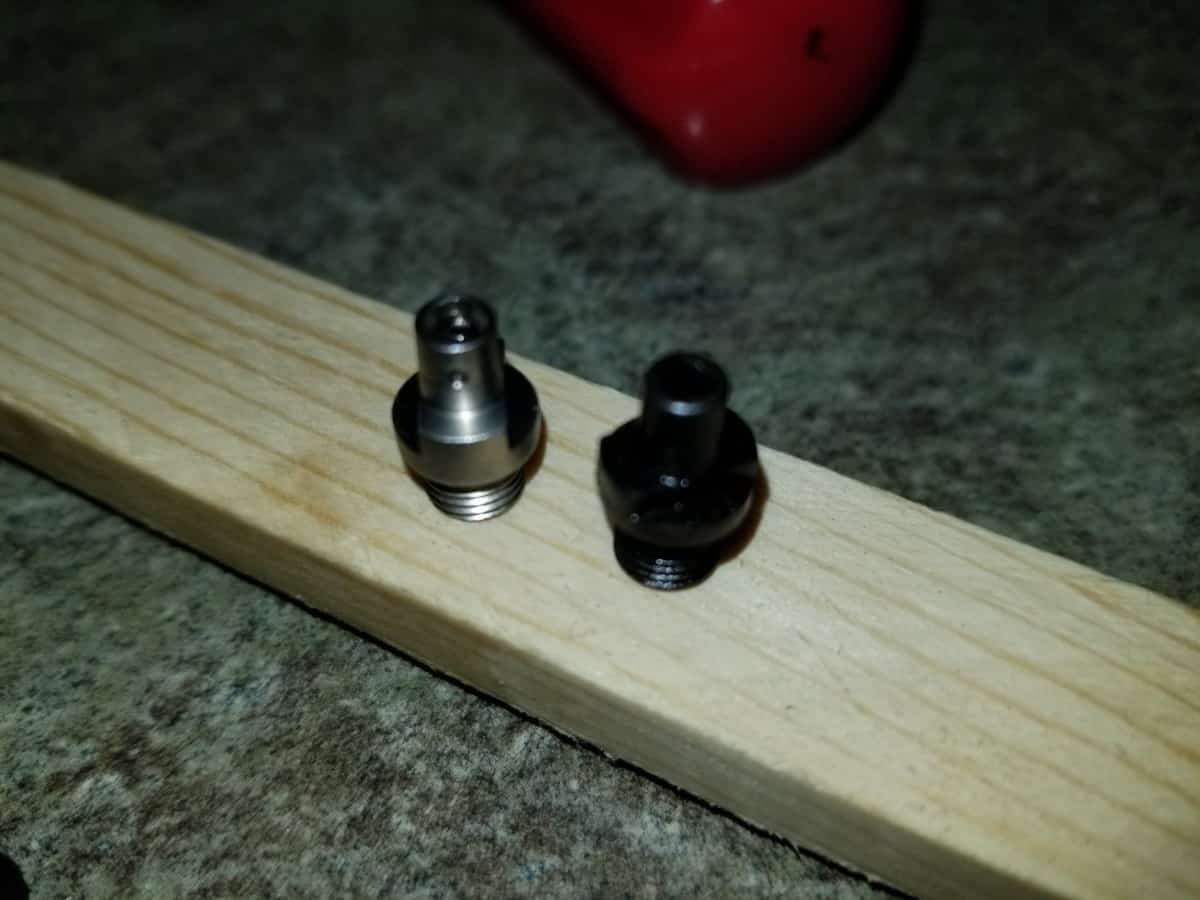
I recommend a nipple called SliXshot and you can find them here if you’re interested. I am not an affiliate, but their products are simply awesome.
What’s great about the SliXshot nipples is that they have vent holes on the side walls of the nipple (see picture). This is amazing with dealing with blowback!
Every time you fire your cap and ball revolver, you will ignite the powder in the chamber and the majority of the energy will travel down range. However, some amount of blowback is going to happen and that’s where the hot gasses travel back through the nipple vent and against your hammer.
With a stock nipple, all of the force is directed out the main nipple hole and this force will actually cause the spent cap to rupture on all sides and the force is enough to actually make your hammer bounce back slightly before dropping forward again. Sort of like if you hold onto a drum stick and let the other end fall on a snare drum. You’ll get a quick bounce.
When the hammer bounces back like this, the cap (flattened by the equal blowback on all sides) can easily drop into the action.
The SliXshot nipples, with their 2 sidewall vents allow gasses from the igniting powder in the chamber to have an easier path to for escaping. They will flare out the cap on 2 sides only and will leave the other two sizes to grip the nipple until that chamber is rotated again.
The easy path for the gasses to escape reduces or eliminates the force put on the hammer and it will stay in place after falling.
Seriously, for $36, you can’t go wrong with these nipples. Just consider it an obligatory purchase that’s built into the overall cost of your revolver.
Use a Rigid Main Spring
Finally, if all of these methods failed (I would be very surprised), you can check into getting a more rigid main spring if you think that the hammer is bouncing back due to blowback when firing.
In my opinion, you shouldn’t have the problem of a light main spring unless you replaced the factory-issued one.
However, if you forgot to fully tighten the single screw that holds the main spring in place when you disassembled the revolver for cleaning, then you will want to do that to increase its rigidity.